3.5. First steps
After the installation is done, the first step is to check if the Test bench is responding to ping requests. This should work because the whole setup process was relaying on a working network connection between the all involved systems. All examples are assuming that the Test bench was created with the default values as vm on a local machine (e.g. the vm has the IP address 10.1.1.5). If not, adjust the IP address of your Test bench according your setup.
$ ping -c 4 10.1.1.5
PING 10.1.1.5 (10.1.1.5) 56(84) bytes of data.
64 bytes from 10.1.1.5: icmp_seq=1 ttl=64 time=0.308 ms
64 bytes from 10.1.1.5: icmp_seq=2 ttl=64 time=0.407 ms
64 bytes from 10.1.1.5: icmp_seq=3 ttl=64 time=0.408 ms
64 bytes from 10.1.1.5: icmp_seq=4 ttl=64 time=0.248 ms

--- 10.1.1.5 ping statistics ---
4 packets transmitted, 4 received, 0% packet loss, time 3000ms
rtt min/avg/max/mdev = 0.248/0.342/0.408/0.071 ms
If you want to login directly in your virtual machine, launch
Virtual Machine Manager (virt-manager) and connect to the virtual
machine FSL-Test-bench.
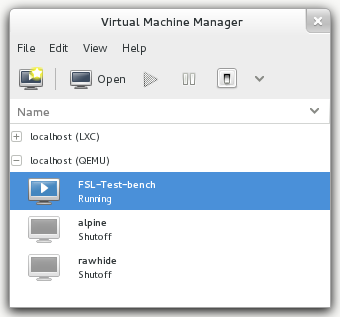
Virtual Machine Manager
Make a right-click on the FSL-Test-bench entry and choose Open. Login
with username root and passwort testbench.
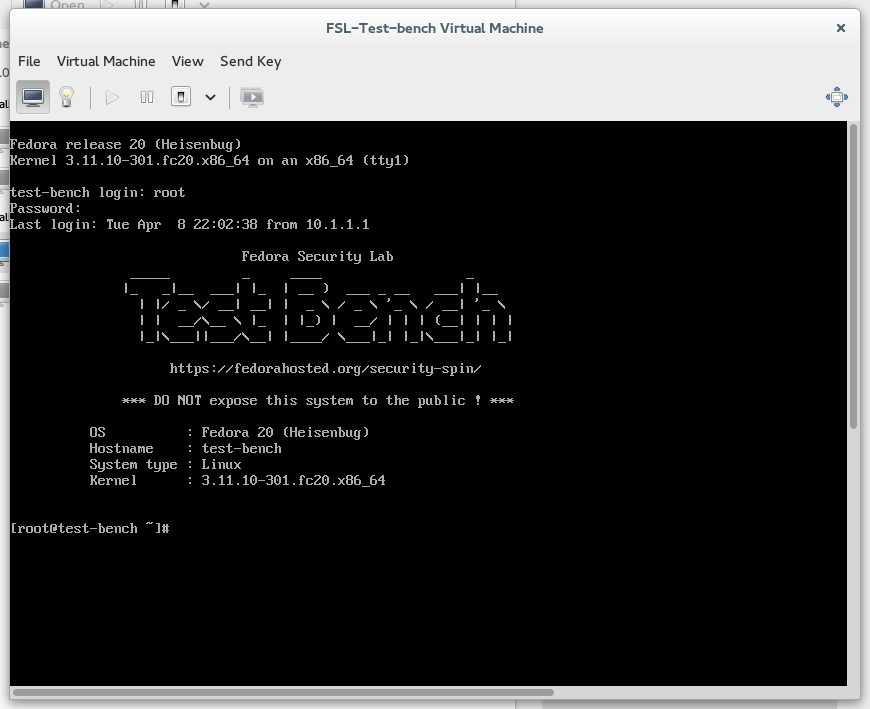
Virtual Machine Manager console view
The fastest way is just to connect to the Test bench over ssh and login with username root and passwort testbench.:
$ ssh -l root 10.1.1.5
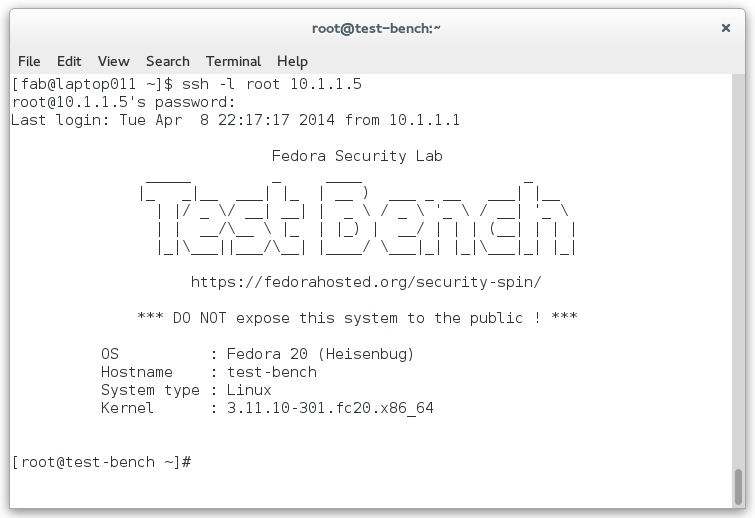
motd of the Test bench